
Keep Fighting. Keep Filming! Tips on Filming Police Misconduct
By Kelly Washington
As appeared first in the Chicago Defender
Taking photographs, video, and audio in public spaces is our constitutional right. This even extends to law enforcement performing their duties in public. It is an accountability tool for civil servants, such as law enforcement, who abuse their power. We know that because of our fallible legal system, video proof does not mean justice; however, it still provides the public evidence of excessive force, unprofessionalism, unconstitutional actions, and in the worst-case scenario, murder hands of a few police officers. If those videos are not recorded in a way that can be used for evidence in a legal proceeding, prosecutors will look for flaws and use them to object to admission in court. Here are tips for filming an unsettling police interaction.
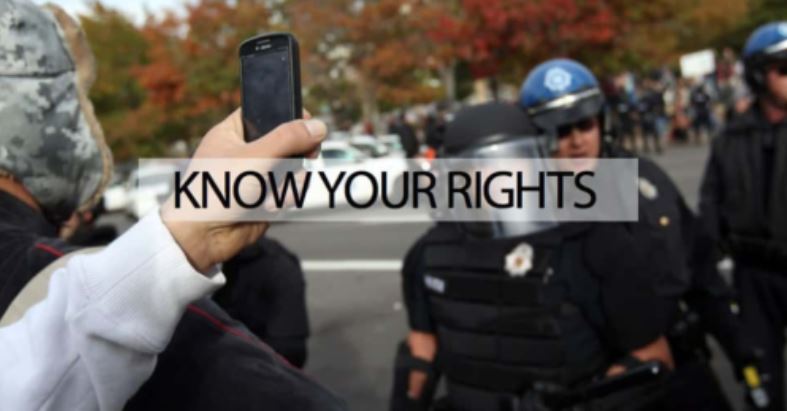
Know your rights!
You have a First Amendment Right to record the police. Any public servant performing their duties in an open space has relinquished their right to privacy regarding their right to record their actions. If you feel comfortable, you can assert this right if an officer demands that you stop filming. There are a few restrictions. You cannot trespass to film the police. This means that you cannot enter private property just for the sake of getting footage. If the property owner has forbidden you from entering, if there is a ‘No Trespassing’ sign on the property, or if it is an established crime scene, you cannot record it. It may cause interference with the police investigation. In a public space, the police can order you to step back and record from a distance. Try to film from at least a car’s length away in an effort not to create a contentious environment.
The Fourth Amendment ensures your right to privacy. This protects your First Amendment Right to record the police by making it illegal for a police officer to confiscate or view the contents of your recording device. Make sure your phone is password protected. Quickly upload your video, email it, or set it to automatically back up to a cloud service like Dropbox or Google Drive to ensure that your footage is safe in the instance that an officer unlawfully seizes your phone. Try to lock the phone with a passcode or fingerprint ID if you can. Always assert your Fourth Amendment Right by clearly stating, “I don’t consent to this search and seizure.”
The Fourteenth Amendment is your right to due process if your recording device is unlawfully confiscated. Police officers have to provide notice first and allow you to object. Failure to do this violates the 14th amendment clause.
Provide Evidence That Your Footage Is Verifiable
State the date, time, and location on camera. Do this while you are recording at regular intervals. Confirm your location by filming street signs, addresses on buildings, landmarks, etc. If you can turn on your GPS location service, then do so if you can, record badge names and numbers. Do not stop and start your recording device when filming. Doing this welcomes claims that your footage was edited or manipulated. Make sure that you are continuously recording and film the incident in its entirety if possible.
Personal Commentary- To Add or Not to Add
At times the footage speaks for itself. This has been especially clear in the case of George Floyd and his powerful utterances of “I can’t breathe” and “Momma.” However, narrating will help viewers understand what is happening if you’re unable to film at a close distance.
Try to be objective as possible by not using biased or derogatory language about the officers or the situation unfolding in front of you. Do not assume anything about what or why the incident is happening. Do not allege about criminal history, nationality, etc. You want to appear neutral in your commentary and in court. If your video is used in court, a biased emotional narration will make you look less credible.
Additional Filming Tips
Recording a video for evidence of police misconduct is a little different than recording for fun. First, film horizontally to capture some wide angles to get as much content as possible in a video frame. Police officers tend to cluster around the victim to hide their colleagues’ abuse. Try to get as close as possible, or hold the camera over your head and point it downwards. Try not to move around much. Lawyers and prosecutors cannot make sense of footage that is moving too quickly or shaky. Holding your elbows tight into your body over your hips, will brace your arms and prevent you from getting tired. Do not make any edits to the video.
The most important tip is caring for yourself and your safety. Recording gross police conduct is a traumatic event. If possible, take a beat and think it through before you post it on social media. When you post it on social media in hopes that it will go viral, you are also exposing yourself. Having your name publicly tied to such a video makes you a target of internet trolls and perhaps even harassment by other police officers. It would be helpful to share your footage with an advocacy group, or a journalist if you wish to remain anonymous.
Contributing Writer, Kelly Washington can be found on social media @blackbutterfly413.
Sorry, the comment form is closed at this time.